Bike saddle height: how to set it right in three steps
Introduction
The saddle height of a bicycle (whether road, gravel or mountain bike) is one of the most crucial adjustments for any cyclist, whether beginner or experienced. An incorrectly positioned saddle can lead to a loss of power, persistent discomfort and even joint pain. On the other hand, a properly adjusted saddle enables smooth pedaling, improves comfort over time and optimizes the transmission of effort. To help you find the ideal height, we present a three-step method that combines biomechanical precision and feedback. Following this process will not only help you avoid common mistakes, but will also enable you to fine-tune your settings to the nearest millimetre.
Why is saddle height so important ?
The saddle setting has a direct influence on comfort, posture and performance. If it’s too low, the knee remains too bent. This can cause muscle fatigue and limit pedaling range. Conversely, a saddle that’s too high causes the pelvis to tilt. This causes tension and reduces stability.
Over the long term, incorrect adjustment can lead to chronic pain. Knees, hips and lower back are often the first areas affected. Correct positioning helps to avoid these discomforts. What’s more, it improves fluidity of movement and overall biomechanical performance.
This adjustment of the bike saddle becomes all the more crucial when you increase your training load or the duration of your outings. Even on short rides, a misalignment of just a few millimeters can be enough to create a muscular imbalance.

Step 1: Measure your inseam and calculate your starting height
The first step is to measure your crotch. To do this, stand with your back against a wall, bare feet slightly apart. Place a book horizontally between your legs and measure the distance between the floor and the top of the book.
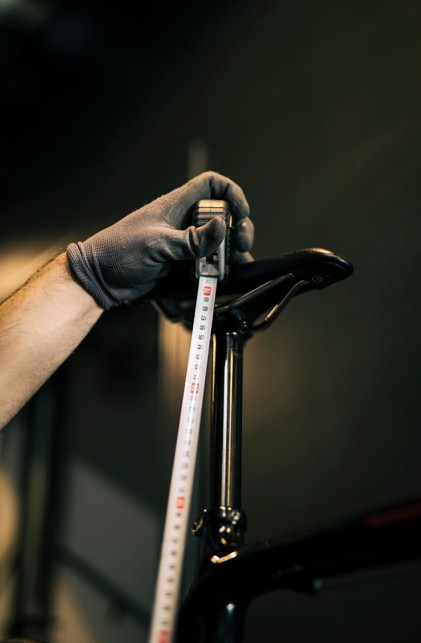
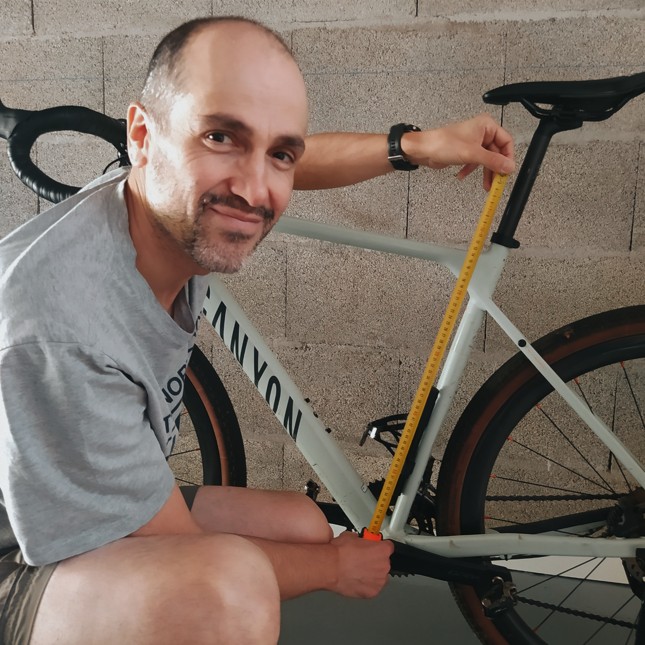
Once this measurement has been obtained, apply the following formula: inseam × 0.885. For example, with an 80 cm inseam, the estimated saddle height will be 70.8 cm. This value corresponds to the distance between the center of the bottom bracket axle and the top of the saddle (parallel to the seat tube).
See the estimated saddle height according to your inseam
This calculation provides a starting point. It is not a definitive value, but a reliable benchmark from which to start testing. This method is used in many postural study centers, as it is based on validated body proportions.
Step 2: Test the empty height and observe any necessary adjustments
Once you’ve adjusted the saddle on the bike and tightened the seatpost to the correct torque, it’s time for your first test. Set up your bike on a home trainer or lean against a wall for stability. Sit on the saddle and pedal backwards, slowly to center your position: check that your pelvis and hips remain stable while pedaling.
Then place your heel on the pedal at the lowest point. If your leg is fully extended, the height is probably correct. If the knee remains bent, the saddle is too low. Conversely, if the pelvis wobbles or the leg stretches excessively, the bike’s saddle position is too high.
It’s important to adjust the height in small increments, of no more than 1 to 2 mm each time. Every body reacts differently to stress. A gradual adjustment will help you find the most natural position. Avoid changing several settings at once.
At the same time, it may be useful to film pedaling from the side. This allows you to observe the angle of the knee at maximum extension (low point), which should ideally be around 140° to 145°. This visual analysis reinforces the objectivity of the feeling.

Step 3: Validate the setting in real-life conditions
The static test is not enough. The next step is to validate the bike’s saddle height on a real outing. Choose a varied route, with restarts, flat sections and a few climbs. This will enable you to assess how you feel in different situations.
Pay attention to the signals sent by your body. Pain in the front of the knee often indicates a saddle that’s too low. Tension in the back of the thigh or in the lower back suggests a saddle that’s too high.
To find out more about the effects of a saddle that’s too high, check out this interesting article from myvelofit.
Here again, adjustments should be made gradually. Never change the height by more than one or two millimeters at a time. Roll, observe, then readjust if necessary. This process requires patience, but guarantees a lasting result.
For some cyclists, it may take a few days of adjustment before the effects of a new setting are felt. It is therefore preferable to avoid multiple modifications over a short period of time.

Additional tips for fine-tuning your position
In addition to the bike’s saddle height, other factors influence your posture. Saddle inclination, for example, should be neutral or even slightly negative (-2° to -5° max. to relieve pressure on the soft tissues). A saddle tilted too far forward can cause slippage, while a backward angle puts pressure on the lower back.
Saddle offset is also important. It is adjusted according to the position of the knee in relation to the pedal, often with a plumb line. Finally, remember to check the cleats on your shoes. Wear or poor positioning can distort the feel.
It’s also a good idea to review your bike’s saddle fit when changing equipment. A new pair of shoes, a different saddle or a softer seatpost can alter your overall posture. Each change needs to be reassessed via steps 2 and 3 above. Even a variation in insole thickness can have an impact on joint positioning.
And don’t forget the importance of body symmetry. A difference in mobility, leg length or muscle tone can also influence your perception of comfort.
Want to improve your cycling performance? Discover our carbon road wheels, designed to optimize performance and lightness on every outing.
Conclusion
Adjusting your bike’s saddle height is an essential process, accessible to everyone. By following the three steps described – initial calculation, static test and road validation – you’ll obtain a precise, personalized adjustment. This sometimes time-consuming process is an investment in your comfort, performance and health.
A well-positioned saddle means more efficient pedaling, less fatigue and more pleasure on every ride. Take the time to adjust your position. Your body will thank you.
Discover more tips, advice and tutorials on our blog page.

